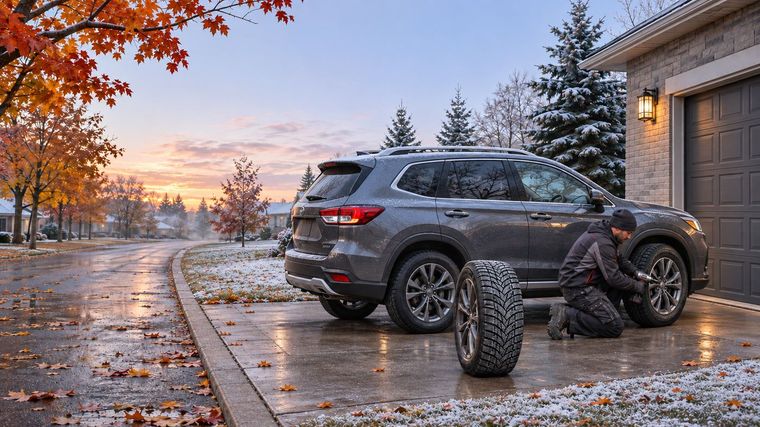

Your winter tires are on. Most drivers consider the job done at that point, but the first 100 km after a winter tire change are when small installation problems show up. A lug nut that settles, a tire that lost air over the summer, a wheel that isn't perfectly centred on the hub: none of these are obvious in the driveway, and all of them can turn into real safety issues on a cold highway.
The good news is that every one of them is easy to catch if you know what to look for. This guide walks you through the 8 checks to do after installing winter tires, in the order you'll actually do them: before you leave, during your first drive, at the 50 to 100 km mark, and over the first month. Whether you did the swap yourself or had a shop do it, these checks apply to you.
Why the First 100 km Matter So Much
A wheel isn't simply bolted on and forgotten. When you tighten lug nuts, you're clamping the wheel against the hub with a precise force. During the first kilometres, the contact surfaces between the wheel, the hub and the nuts settle slightly. Rust, paint or debris on the hub can compress. Alloy wheels in particular can seat a little further once they're under load and going through heat cycles from braking.
The result: a wheel that was correctly torqued in the shop can lose part of its clamping force within a short distance. That's why tire manufacturers like Continental, insurers like Travelers Canada and consumer groups all recommend a retorque shortly after installation. Add the effect of cold weather on tire pressure and the fact that winter tires often spent six months in storage, and you can see why the first 100 km deserve your attention.
Check 1: Inspect Everything Before You Drive Away
Take two minutes to walk around the vehicle before you leave the shop or your driveway.
Lug nuts: every nut should be present and seated flush. A missing nut or one that sits at an angle is a stop sign.
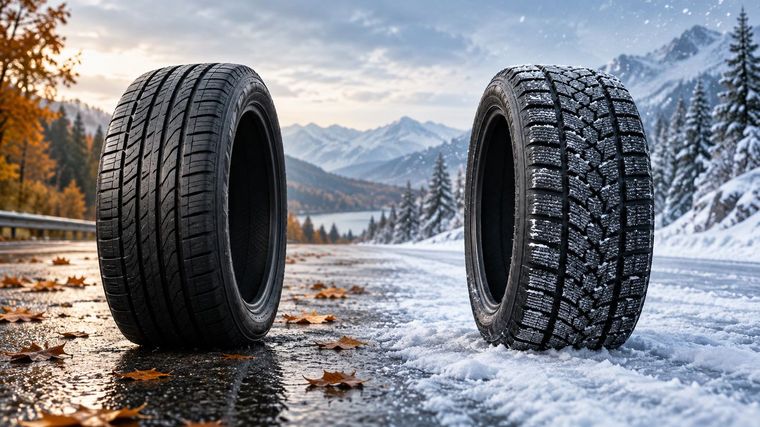
Rotation direction: many winter tires are directional. An arrow on the sidewall shows which way the tire should roll. If one tire's arrow points backward, it was mounted on the wrong side and will lose much of its ability to evacuate slush and water.
Asymmetric tires: if your tires are marked "Outside" on one sidewall, that side must face out.
Valve caps: they keep moisture and road salt out of the valve core. A missing cap in winter can lead to a frozen or leaking valve.
Centre caps and hub-centric rings: if you have aftermarket winter wheels, make sure the rings were installed (more on this below).
Tools and old wheels: sounds obvious, but a socket left on a brake caliper or a wheel nut left on the ground happens more often than you'd think.
Check 2: Set the Pressure Cold, From the Door Placard
Tires that sat in a garage or storage facility all summer rarely come out at the right pressure. And once they're outside, the cold works against you: tire pressure drops roughly 1 PSI for every 5°C drop in temperature. A tire inflated at 15°C in the shop can be several PSI low the first frosty morning.
Use the pressure listed on the placard inside the driver's door jamb, not the number on the tire sidewall. The sidewall shows the maximum pressure the tire can handle, not the right pressure for your vehicle.
Measure when the tires are cold. Transport Canada defines cold as a vehicle that has been parked for at least three hours or driven less than 2 km. Under-inflated winter tires flex more, wear faster on the shoulders, take longer to stop and lose some of the grip you paid for. Over-inflated tires shrink the contact patch, which is the last thing you want on ice.
Check 3: Watch the TPMS Warning Light
If your dashboard shows the tire pressure light after the swap, don't ignore it. There are three common reasons:
Low pressure: the most frequent cause, especially on the first cold morning. Inflate to spec and the light should go off after a few kilometres.
No sensors on the winter wheels: if your winter set was mounted on wheels without TPMS sensors, the system can't read anything and the light will stay on (often blinking at start-up, then solid). The vehicle is still drivable, but you lose the warning system for the whole season, so manual checks become essential.
Sensors not programmed: many vehicles need the winter set's sensors to be "relearned" before the system recognizes them. Some do it automatically after a short drive, others need a scan tool. Your owner's manual or your installer can tell you which applies.
A light that stays on is never something to live with for four months. It means you're driving without an early warning for a slow leak.
Check 4: The Steering Wheel Vibrates? Here's What It Means
A smooth ride is the clearest sign of a good installation. If the steering wheel shakes, the speed at which it happens tells you a lot.
Vibration at highway speed (around 80 to 120 km/h)
This is the classic sign of a wheel that's out of balance, and it's the most common cause by far. Balancing weights can fall off during storage or handling, and tires can shift slightly on the rim over time. A rebalance usually fixes it.
Vibration that fades after 15 to 20 minutes
Tires that sat in one position for months can develop temporary flat spots. They usually disappear after 15 to 20 minutes of highway driving, once the rubber warms up. If the vibration is gone after a longer drive, that was the cause. If it stays, move on to the other possibilities.
Vibration with aftermarket winter wheels
Many winter wheels have a larger centre bore than your vehicle's hub. Without hub-centric rings to fill the gap, the wheel hangs on the studs instead of resting on the hub, and it can sit slightly off-centre. The result is a vibration that rebalancing won't fix. Check that the rings are there, that they're the right size, and that none are cracked or missing.
Other causes
Rust buildup on the hub face, a wheel that wasn't seated flat before tightening, a bent rim from last winter's potholes, or internal tire damage can all cause vibration. If a rebalance doesn't solve it, have a technician check these.
Wobble at low speed: stop now
A wobble or knocking at low speed, especially one that gets worse, can mean loose lug nuts. Pull over safely and check them. Don't continue to the shop hoping it holds. A wheel that comes off is the most serious installation failure there is.
Check 5: Pulling, Noises and Braking
During your first drive, pay attention to three more things.
Pulling to one side. Often caused by unequal pressure between left and right. Check pressure first. If it's even and the vehicle still pulls, an alignment check is worth it, especially if your car hit potholes last season.
New noises. Winter tires are naturally a bit louder than all-season or summer tires, so a steady hum is normal. A rhythmic clicking or scraping is not. It can come from a stone stuck in the tread, a wheel weight touching a brake component, or an aftermarket wheel that doesn't clear the brake caliper properly. That last one needs immediate attention.
Braking feel. The brakes should feel exactly as they did before. A pulsing pedal or a steering wheel that shakes only when braking points to the brakes themselves, not the tires, but a tire change is a good time to have them looked at.
Keep in mind that new winter tires need a short break-in period. For the first few hundred kilometres, drive gently and avoid hard acceleration and braking. This is especially important with studded tires, which need time for the studs to seat properly.
Check 6: Know Your Speed Rating
Many winter tires carry a lower speed rating than the tires they replace. It's printed at the end of the size code on the sidewall (for example Q, T or H). Your winter tires were designed for cold, slippery conditions, not sustained high speed, and you shouldn't exceed their rated speed. This rarely matters on Canadian roads in January, but it's worth knowing before a long highway trip.
Check 7: Retorque the Lug Nuts at 50 to 100 km
This is the check most drivers skip, and the one that matters most.
Recommendations vary by source and vehicle. Continental recommends having the nuts checked after about 50 km. Travelers Canada points to the distance recommended by the vehicle manufacturer, often around 100 km. Some vehicle manufacturers and installers recommend up to 160 km. The safe rule: plan your retorque between 50 and 100 km, and check your owner's manual for your vehicle's exact recommendation.
How to do it right
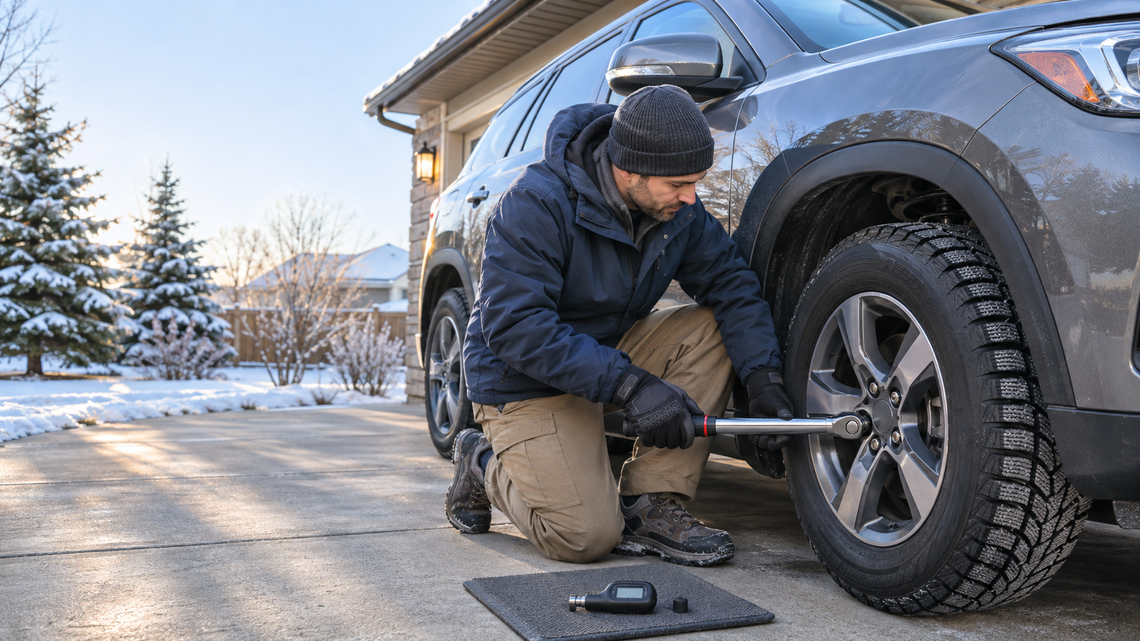
Use a torque wrench, not an impact gun. Impact guns can easily over-tighten, which stretches studs and can warp brake rotors.
Set the wrench to the torque value in your owner's manual. It varies a lot between vehicles, so never assume.
Tighten in a star (crisscross) pattern, not around the circle, so the wheel seats evenly.
Do it with the wheels cool, not right after a long drive with heavy braking.
Don't lubricate studs or nuts unless your manufacturer specifically says to. Lubricant changes how torque translates into clamping force and can lead to over-tightening.
If a shop installed your tires, many will retorque for free. Ask when you pick up the vehicle and book it right away so you don't forget.
Check 8: Your First-Month Follow-Up
After the first week or two, do a final round.
Check pressure again after the first real cold snap. Then make it a habit at least once a month all winter, more often when temperatures swing.
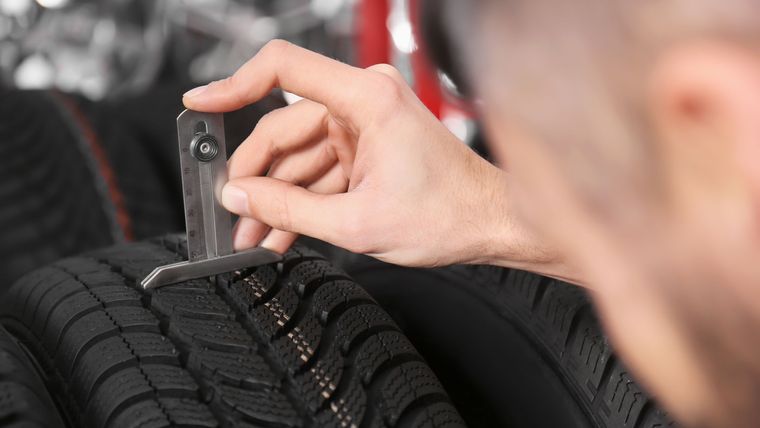
Look at the tread for cuts, bulges or stones wedged in the grooves.
Keep your invoice. It's your proof of installation date for any warranty claim, including manufacturer defects and road hazard coverage if you have it. It can also matter for insurance: in Ontario, for example, insurers are required to offer a discount for winter tires, and some may ask for proof of purchase or installation. Rules and programs differ from province to province, so check with your insurer.
Know your provincial rules. Quebec requires winter tires on passenger vehicles from December 1 to March 15. British Columbia requires winter tires on many designated highways from October 1 to March 31, with some routes extended to April 30. Other provinces don't make them mandatory, but the safety case is the same everywhere in the country.
Frequently Asked Questions
Is it really necessary to retorque if the shop used a torque wrench? Yes. The retorque isn't about correcting a mistake at installation. It compensates for the natural settling of the contact surfaces during the first kilometres.
Can I just check the nuts by hand with a tire iron? It's better than nothing, but you can't tell if a nut is under-torqued, and it's easy to over-tighten. A torque wrench is the only reliable method.
My TPMS light is on but the pressure is fine. Can I drive? Yes, but the system isn't protecting you. Have the sensors checked or programmed, and check pressure manually in the meantime.
My tires were mounted and balanced last year. Why do they need rebalancing? Weights can come off during storage and handling, and tires can shift on the rim. If there's no vibration, you're fine. If there is, a rebalance is the first fix to try.
Conclusion
Installing winter tires is only half the job. The other half happens in the first 100 km: a quick inspection before you leave, cold pressure set from the door placard, a TPMS light that goes off, a smooth steering wheel, and a lug nut retorque at 50 to 100 km. These checks take very little time and they're what make your winter tire change truly safe for the season ahead.
If you're shopping for a winter setup, a pre-mounted tire and wheel kit arrives ready to install and makes seasonal changes faster and simpler every year.